How To Change a Shower Arm on Your Own?
Whether you require to change a shower arm 400mm due to leakage, rest, or chromatic (or you just would like to upgrade), it is a job most householders can do themselves with instruments they already wear in hand. If it is time for an alteration, it is time to check how to change a shower arm to 40mm!
Page Contents
How to change a shower arm on your own?
In real-time that you have everything you require, accompany these 7 easy points to change your shower arm:
Block off the water by cutting off the water flow to the whole bath. You are able to carry out this by blocking off the water main, commonly placed where your plumbing links up with your water system. You are able to as well look for a block-off valve for the head of the shower.
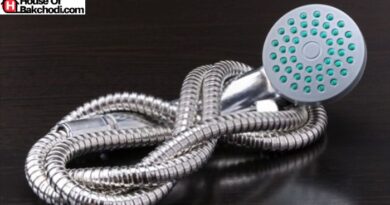
1. Bump off the showerhead
It is more comfortable to bump off the shower arm if you move out the showerhead 1st. Do this irrespective of whether you are keeping your surviving showerhead or setting up a brand-new one. Carry the shower arm in the home, although you bout the showerhead ball with your tube wrench. If the shower head is backed in shell, bear it in an arena filled up with vinegar and dowse it for a couple of mins to relax the minerals and create it more comfortable to bump off.
2. Clear the surviving shower arm
Cleanse aside whatever added scale, forge, or mould from close to the shower arm to create the shower arm more comfortable to move out. We suggest utilizing either Ca and limescale remover or acetum
3. Unscrew the surviving shower arm
Grip the shower arm utilizing your longest changeable tube wrench. Bout the wrench left-handed. Significantly, you act this tardily. If the shower arm does not relax with comfort, stop instantly, so you do not break it down. If the shower arm does not lose in real time, utilize a metallic lubricant to coat the field where the arm adjoins the wall for a couple of hours, and then try once again. At one time, you have unscrewed the shower arm with success, and you will ascertain a pipe bugging out from the wall with string close to the outside of the pipe.
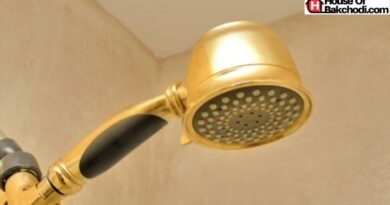
4. Set up the brand-new shower arm
Prior to you cutting in your brand-new shower arm, wrap up the strung end of the shower tube with a couple of layers of plumbing system tape—do not be concerned; the strings will all be the same work to assure the shower arm. Make a tight cachet with a pipe-joint compound if you do not have whatever plumbing system tape. And then insert your brand-new shower arm, strung end 1st, turning right-handed. Assure that the showerhead fits out snugly and is bent tightly.
5. Reinstall the very showerhead
Even as you acted with the shower arm, go for either plumbing system tape or plumbers compound to the strung end of the shower head prior to reinserting it onto the brand-new shower arm. Bout the shower head right-handed till snug, and then turn one a lot half-turn.
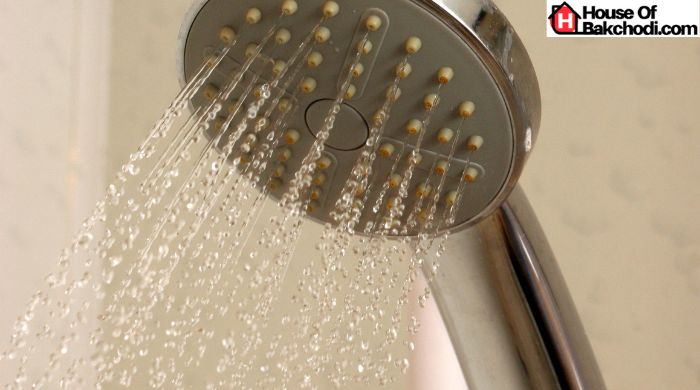
6. Examination for leakages
Charge up the water system for the bath and twist on the tap to hive off a gentle flow of water to the brand-new shower arm if you fleck whatever leaks, switch off the water and bout the shower arm or shower head right-handed to tighten up the seal.